Features
- Add the “Tembo” label to issues to trigger analysis
- Click provided links to view coding sessions and create PRs
Installation
1
Create Tembo Account
Create a dedicated Jira account for Tembo using either an email alias
(
youremail+tembo@company.com) or a dedicated email (tembo@company.com).
Invite this account to your Jira workspace and complete the sign-up process
using the name “Tembo”.2
Connect
Navigate to the Integrations page in
Tembo and click the
Install button next to Jira. Make sure you’re logged
into the Tembo Jira account (not your personal account) when completing this
step.3
Add Labels
Create a “Tembo” label in your Jira project if it doesn’t exist: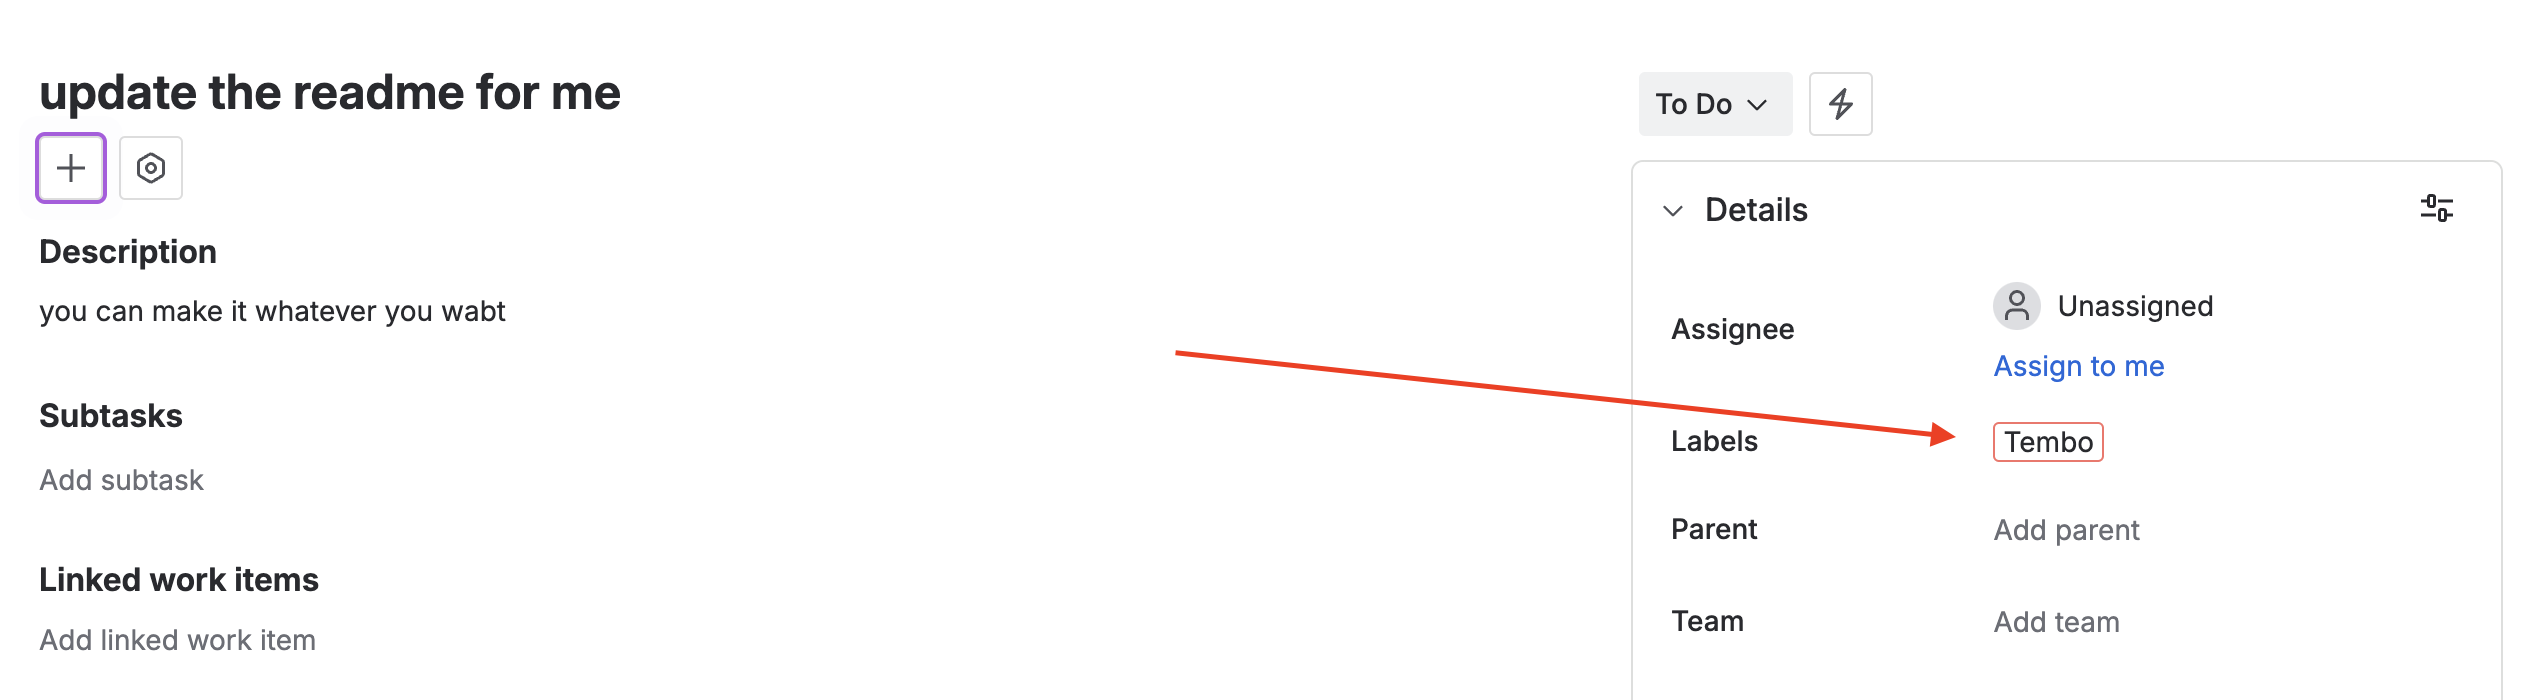
- Navigate to your Jira project settings by clicking the gear icon in the project sidebar
- Select “Labels” from the project settings menu
- Click “Create label” and enter “Tembo” as the label name
- Save the label
4
Start Sessions
After labeling tickets, Tembo will comment with analysis and provide a link
to view the session.
Supported Triggers
Tembo maps Jira activity to automation triggers (use ajira.* naming convention in your triggerName). The Integrations page in the app shows the live set enabled for your org. Supported events:
issue.createdissue.updatedissue.labeledissue.assignedtransition.changedcomment.created
Usage
Triggering Tembo
Add the “Tembo” label to any Jira issue you want Tembo to work on. Once labeled, Tembo will:- Analyze the issue - Review the issue description, acceptance criteria, and any attached context
- Create a coding session - Generate a solution based on the issue requirements
- Comment with updates - Provide progress updates and a link to view the session
- Create pull requests - Submit code changes as pull requests when ready
Status Updates
Tembo keeps you informed as it works on your Jira issues:- Comments - Tembo adds comments to the issue with progress updates and links to coding sessions
- Pull Request Links - When code changes are ready, Tembo comments with links to generated pull requests
- Session Links - View detailed coding sessions to see how Tembo approached the problem
Troubleshooting
Tembo Not Responding to Labeled Issues
If Tembo doesn’t respond after adding the “Tembo” label:- Verify label name - Ensure the label is exactly “Tembo” (case-sensitive)
- Check account setup - Confirm you completed the installation using the dedicated Tembo Jira account
- Review permissions - Verify the Tembo account has permission to read and comment on issues in the project
- Check integration status - Navigate to the Integrations page to ensure the Jira integration is active
Issues Not Being Processed
If labeled issues aren’t being processed:- Verify repository connection - Ensure you have connected GitHub, GitLab, or Bitbucket repositories to Tembo
- Check issue format - Include clear descriptions and acceptance criteria to help Tembo understand the task
- Review webhook status - The Integrations page shows the live set of enabled webhooks; ensure
issue.labeledis enabled
Best Practices
- Write clear issue descriptions - Include detailed requirements, acceptance criteria, and context to help Tembo understand the task
- Use acceptance criteria - Define specific, measurable criteria so Tembo knows when the work is complete
- Attach relevant context - Include screenshots, error logs, or links to related issues when applicable
- Use Rule Files - Help Tembo understand your coding standards and project conventions
- Set up Hooks - Customize Tembo’s behavior to match your team’s workflow